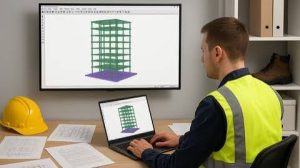
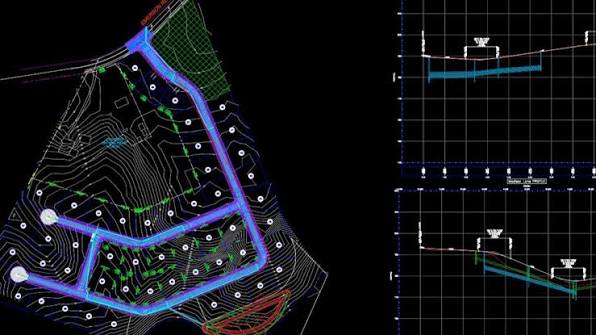
Civil 3D software training teaches civil engineers and surveyors how to design and model infrastructure like roads and pipes. An outline covers navigating the program, creating 3D land surfaces, designing road routes, modeling sloped ground, and calculating dirt volumes.
Essential Training Outline
A standard Civil 3D training program takes users from basic setup to finished project plans.
- Interface Basics: Learn to use the toolspace, manage drawing settings, and change visual styles.
- Survey Points: Import survey data and group points.
- Surfaces: Turn flat data into 3D terrain models and calculate cut-and-fill volumes.
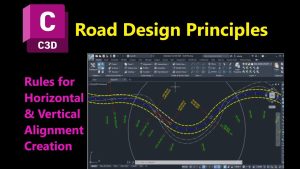
- Alignments and Profiles: Draw horizontal road routes and vertical design profiles.
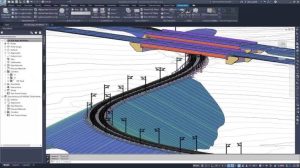
- Corridors: Combine road widths, slopes, and paths to build 3D road models.
- Pipe Networks: Design storm drains and pressure networks.
- Plan Production: Generate final construction documents and cross-sections.
Training Resources
To find structured courses and class schedules, you can use the following learning platforms:
- Autodesk Official Tutorials: Free, step-by-step guides straight from the software creators.
- Linkedln Learning Courses: Video lessons for all skill levels.
- CAD Training Online: Live, instructor-led civil design classes
CAESAR II
A CAESAR II training outline covers both the basics of pipe stress analysis and the exact software tools needed to model piping systems safely. Standard outlines guide users from basic inputs to complex evaluations.
Phase 1: Fundamentals of Pipe Stress
- Introduction to Piping Codes: Review international standards like ASME B31.1 and B31.3.
- Stress Types: Learn how to calculate sustained, expansion, and occasional stresses.
- Material Properties: Define allowable stress, yield strength, and temperature limits.
Phase 2: CAESAR II Modeling Inputs
- Job Setup: Create a project file and set standard units (metric or US).
- Component Details: Model pipes, bends, reducers, tees, and valves.
- Support Types: Add anchors, guides, limit stops, and spring hangers.
- Load Conditions: Enter operating temperatures, pressures, and environmental data.
Phase 3: Analysis and Reporting
- Error Checking: Run the built-in checker to clear system warnings before analysis.
- Load Cases: Set up and edit load cases (e.g., operating, sustained, hydrotest).
- Result Interpretation: Check stress reports against allowable code limits.
Phase 4: Advanced Topics
- Dynamic Analysis: Learn wind, seismic, and water hammer evaluations.
- Special Systems: Evaluate rotating equipment (like pumps and compressors) and underground pipelines.


Related Articles