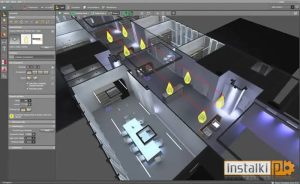
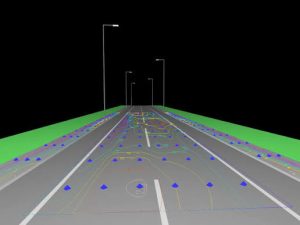
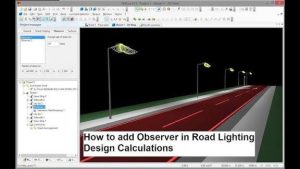
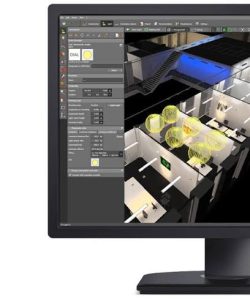
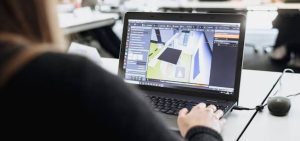
A DIALux software training outline teaches you how to plan, calculate, and visualize indoor and outdoor lighting designs. Courses range from beginner to advanced levels. They cover software setup, 3D modeling, lighting calculations, and reporting.
Here is a standard structure for a DIALux training program:
Module 1: Introduction and Interface Setup
- Lighting Fundamentals: Learn key terms like luminous flux, lux, and color temperature.
- Interface Tour: Learn to navigate the start screen and project manager.
- Settings: Set international lighting standards and grid preferences.
Module 2: Construction and Modeling
- CAD Import: Import and scale DWG (AutoCAD) floor plans.
- Room Creation: Draw single rooms and complex, multi-story buildings.
- Architectural Elements: Add doors, windows, and custom ceilings.
- Materials and Textures: Apply colors and adjust surface reflection.
Module 3: Lighting Selection and Placement
- Luminaire Catalog: Download and import product catalogs (IES or LDT files).
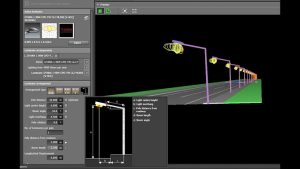
- Arrangement Tools: Use automatic, line, and circular lighting arrangements.
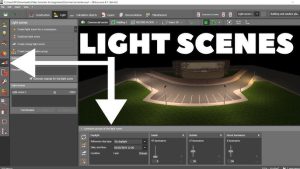
- Light Scenes: Create different scenes for various times of day or events.
Module 4: Calculation and Analysis
- Calculation Objects: Set target lux levels on specific work planes.
- Daylight Simulation: Calculate natural sunlight entering the building.
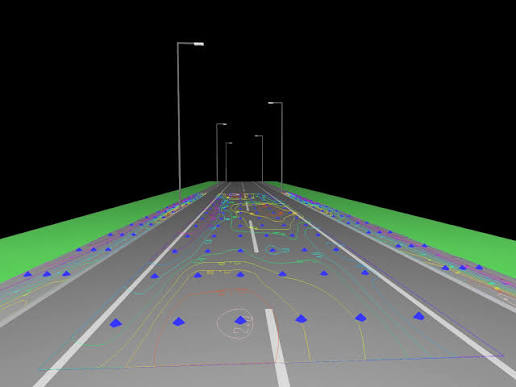
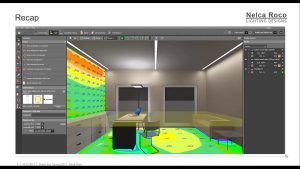
- Evaluation: Read false-color renderings and isolux lines.
Module 5: Documentation and Output
- Ray Tracing: Generate high-quality 3D rendered images.
- Reporting: Create PDF summaries with project data and energy consumption.
- Exporting: Export layouts and data back to CAD formats.
AVEVA E3D (Everything 3D) is a powerful 3D design software used to build large things like factories, ships, and power plants. A standard training outline helps you master the tool by breaking down design tasks into small, easy steps.
AVEVA E3D
A standard AVEVA E3D training outline includes these main steps:
- Interface and Basics: Learn how to start the software and log in.
- Layout: Look at the screen menus and toolbars.
- Projects: Pick your project and set your design area.
- Equipment Modeling: Learn how to build the big machines and tanks in a plant.
- Primitives: Use simple shapes (like boxes, cylinders, and cones) to build parts.
- Positions: Place parts in the correct North, East, and Up spots on your screen.
- Nozzles: Add pipes and openings to your tanks and machines.
- Piping Design: Learn how to route pipes between machines.
- Routing: Draw lines to show where the pipe goes.
- Components: Add items like valves, elbows, and tees to the pipes.
- Specs: Pick the right pipe sizes and materials from a list.
- Structural Design: Learn how to build the steel frames that hold the plant.
- Grids: Set up a math grid on your screen to guide your layout.
- Beams: Add steel beams and columns to your plant.
- Panels: Add flat plates and stairs to your steel structures.
- Drawings and Checking: Learn how to check your work and make flat paper drawings.
- Clashes: Let the software check if pipes are crashing into steel beams.
- Isometrics: Make single-line drawings of specific pipes for builders.
- Drafting: Turn your 3D building into 2D blueprints.
Related Articles